Getting Started
Prerequisites
Section titled “Prerequisites”Before using Matter Planner:
- Your organization must be on the Business or Enterprise plan with the Matter Planner add-on enabled. Check under Settings → Billing or contact your account manager.
- You must be logged in to Athenty as an admin or owner.
Creating Your First Matter
Section titled “Creating Your First Matter”- Click Matters in the left sidebar.
- Click New Matter in the top right.
- Fill in the matter details:
- Name — a descriptive title for the file (e.g., “Henderson — 42 Maple St Purchase”)
- Matter Type — the category that best describes the transaction (e.g., Real Estate, Legal, Mortgage)
- Status — the current stage (Open, In Progress, Pending, Closed)
- Description — optional free-text notes about the matter
- Click Create Matter.
The matter opens to its detail view. You can now add participants, dates, fees, and more from the tabs.
Pairing Email Add-ins
Section titled “Pairing Email Add-ins”Matter Planner includes two email add-ins for linking inbox emails to matters. Each add-in requires a one-time pairing code generated from your Athenty dashboard.
Generate a Pairing Code
Section titled “Generate a Pairing Code”- Log in to app.athenty.com.
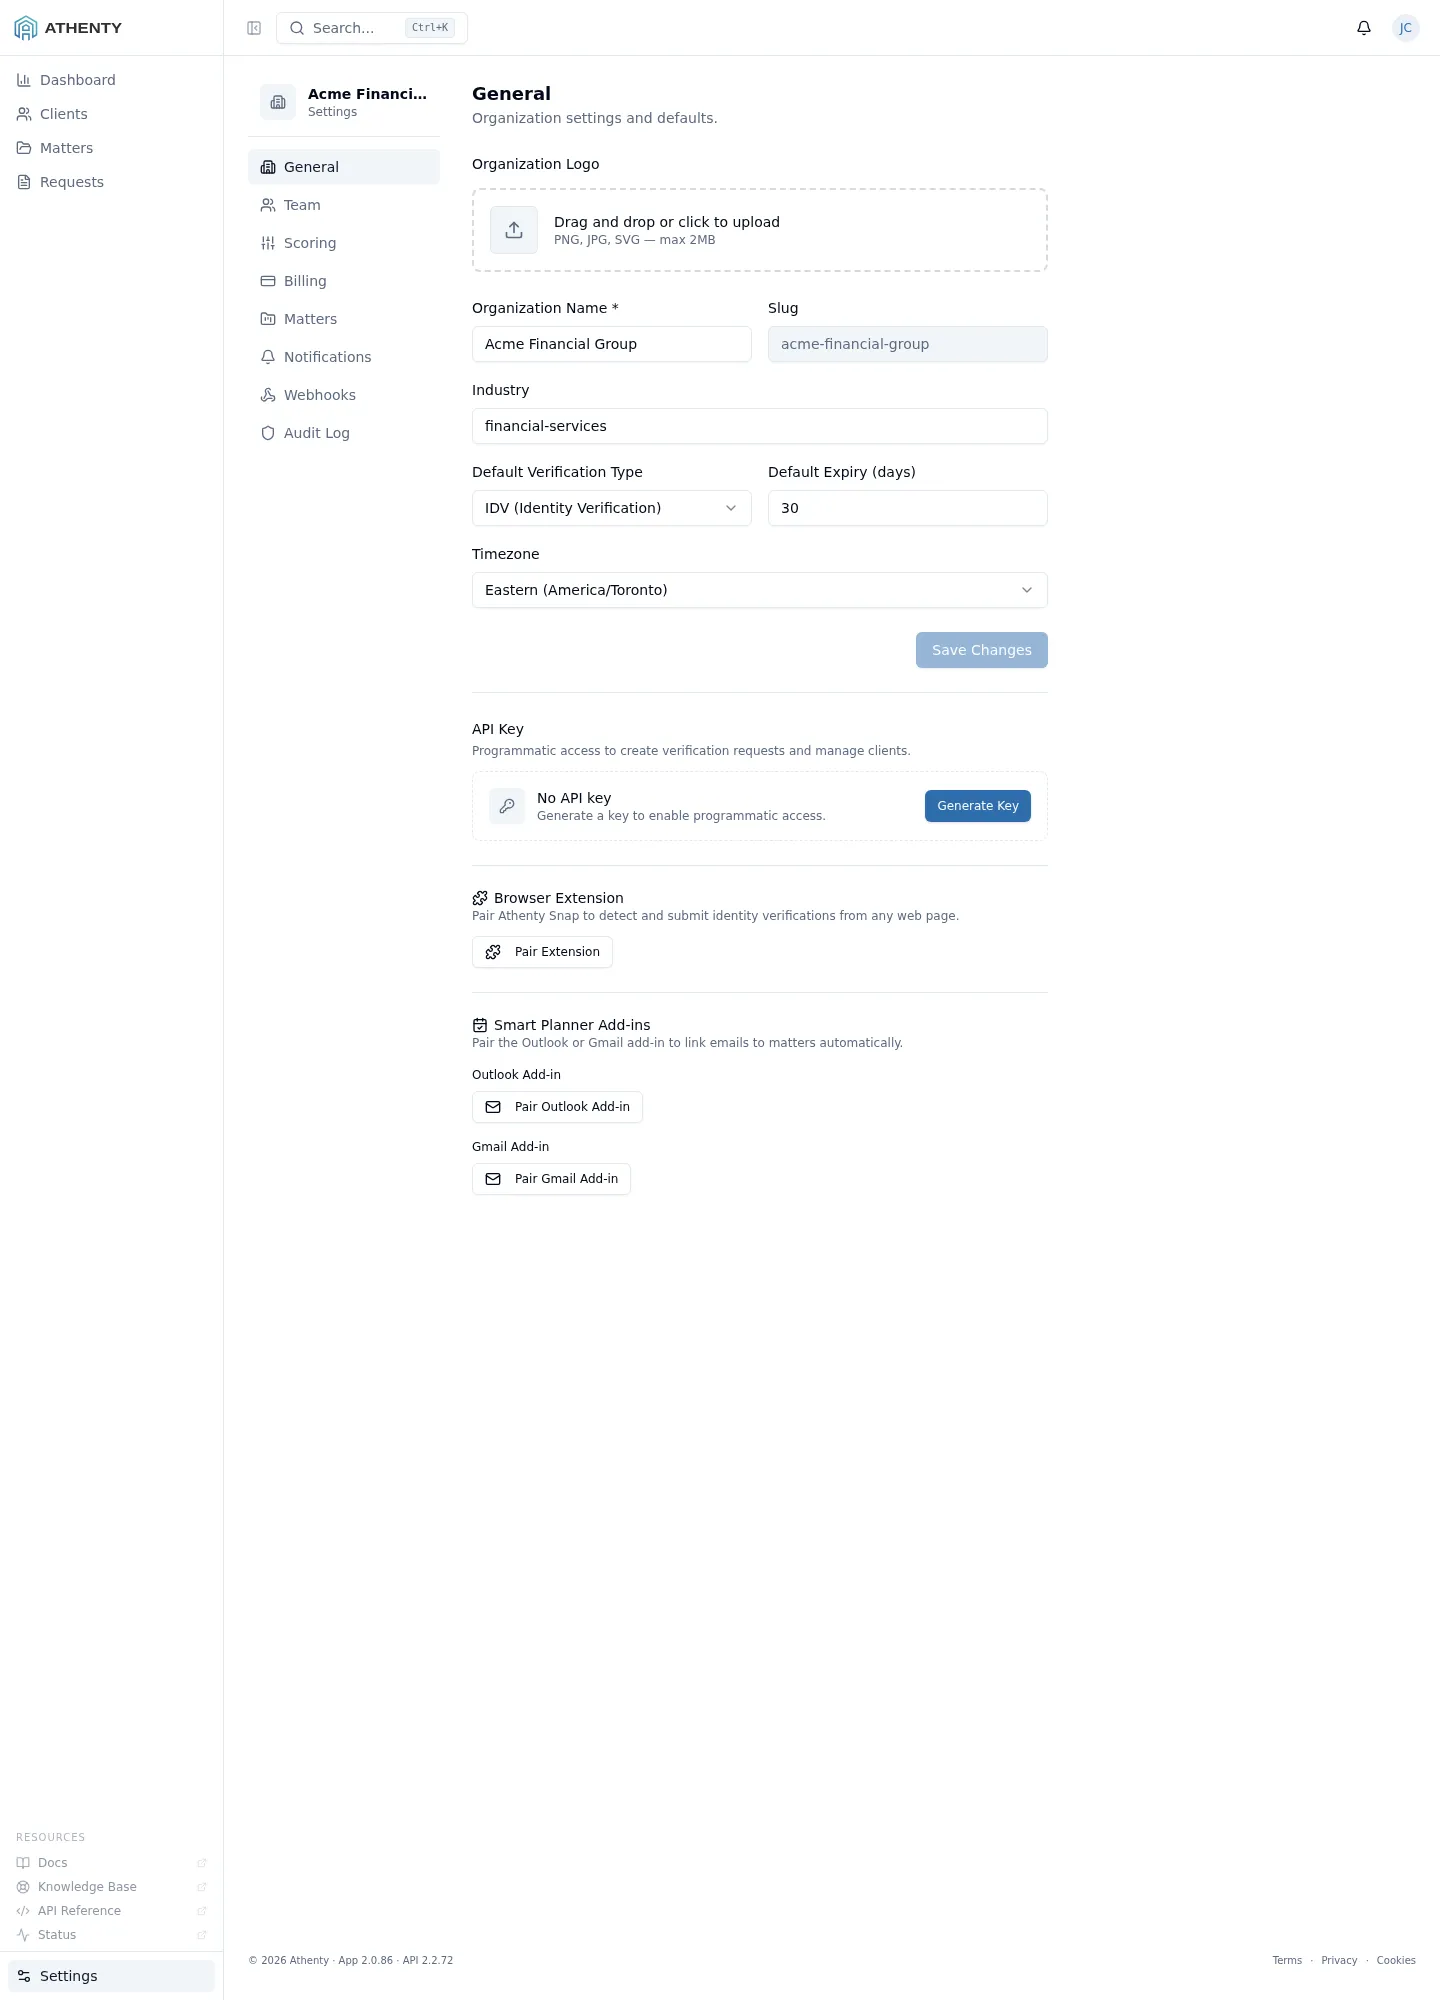
- Go to Settings → General.
- Scroll to the Matter Planner Add-ins section.
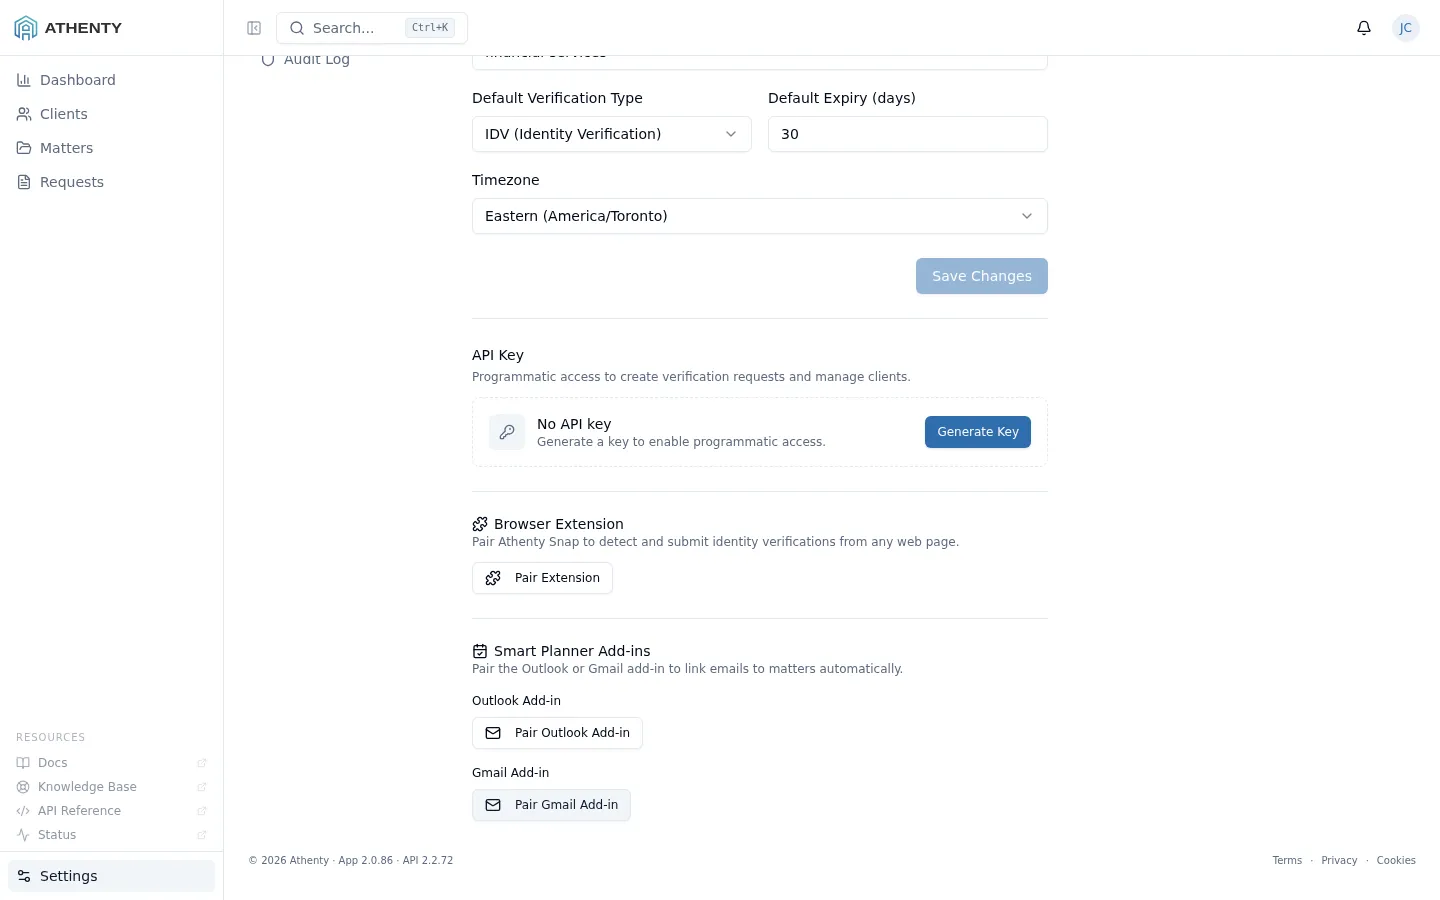
- Click Pair Outlook Add-In or Pair Gmail Add-In — a 6-digit code appears with a 5-minute countdown.
- Enter the code in the add-in’s pairing screen (see the relevant guide below).
Add-in Setup Guides
Section titled “Add-in Setup Guides”- Outlook Add-in — Getting Started — for Microsoft 365, Outlook Web, and Outlook for Windows/Mac
- Gmail Add-in — Getting Started — for Google Workspace accounts
Managing Paired Add-ins
Section titled “Managing Paired Add-ins”All active add-in sessions — Outlook, Gmail, and Athenty Snap browser extensions — appear under Settings → General.
Each entry shows the channel (outlook, gmail, or snap), the paired user, and the last-used date. Click Revoke next to any entry to immediately disconnect that session.
Next Steps
Section titled “Next Steps”Once you have created a matter and paired your email add-in, see Managing Matters for a full walkthrough of the matter workspace tabs.